
There is so much to see in Zion, which is why I recommend staying there for a few days to get the most out of this beautiful national park. You can certainly do a day hike if you are just passing through, but there are a few hotels and campgrounds you can stay at if you are wanting to make a few days out of it. If you do not stay on a campground inside the park, it is so easy to navigate around Zion otherwise. Once you arrive, you can rely on a shuttle to take you to all the trail starting points. Even if you don’t plan on going on hikes, the views you can see as you drive through the park will leave you in awe.
To get into the park, it costs $35 for your stay as you drive through the gate. To get in and out of the park without paying excess fees, make sure to keep your ticket.
Where to Stay
We stayed at South Campground which is open two weeks prior to your stay. There are 117 campsites that are open from March to October and costs $20/night. You can reserve a site by clicking here!
Pros:
- The South Campground was in an incredible location walking distance to Zion village, shops, and restaurants, but far enough away so you felt like you were actually camping
- The wildlife was beautiful. Several deer came to visit our campground each day and pest insects like ants and mosquitos were at a minimum
- It is connected to Watchman trail that leads to further hikes inside the park
- It appeared that each campsite was far enough from the adjacent campsite, so the neighborly noise was kept at a minimum (or maybe we just got lucky with quiet neighbors)
Cons:
- The bathrooms were limited, without shower facilities, but the bathroom did have three toilets and two sinks
- A hammock cannot be hung unless if it is hanging over the footprint of the campground and not over foliage
- They did not allow bonfires due to it being high fire season, but you can bring a portable propane gas campfire. We bought one off Amazon which gave off incredible heat and lasted a full three nights for a total of about 8 hours. It was so cold at night, but because of our firepit to keep us warm we were the only campers who stayed up once it got dark. Everyone else was hiding from the cold in their tents or cars.
The second campground located about 1/4 mile from the South Entrance is called Watchman campground. Unlike South campground that is open only two weeks prior to your arrival, this campground is open up to 6 months prior to your designated arrival. Watchman campground is open year around.
Weather
The weather in Zion can fluctuate from the day into the night, so be sure to pack accordingly. Even if it is in the 80s during the day, the nighttime temperatures can drop drastically, sometimes by over 30 degrees. When I went to Zion, it was a blissful 60s during the day, but the nighttime temperatures dropped to 26 degrees! Needless to say, I wish I had packed a beanie and gloves! I have attached the yearly weather chart, courtesy of Zion National Park.

Hiking Trails
Angels Landing
Difficulty: Strenuous
Time: 3-5 hours
Distance: 5.4 miles roundtrip
No permit is required
Hiking Tips
- This is a crowded trail, the earlier you go the better
- Bring a hat or sun protection, as most of the trail has exposed sunlight
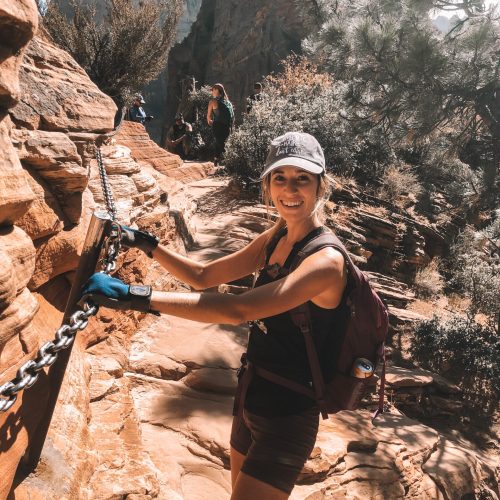
- Bring gloves to grip the cable chains
- Pack a snack to fuel you up at the top; a hydration pack can help you be hands free
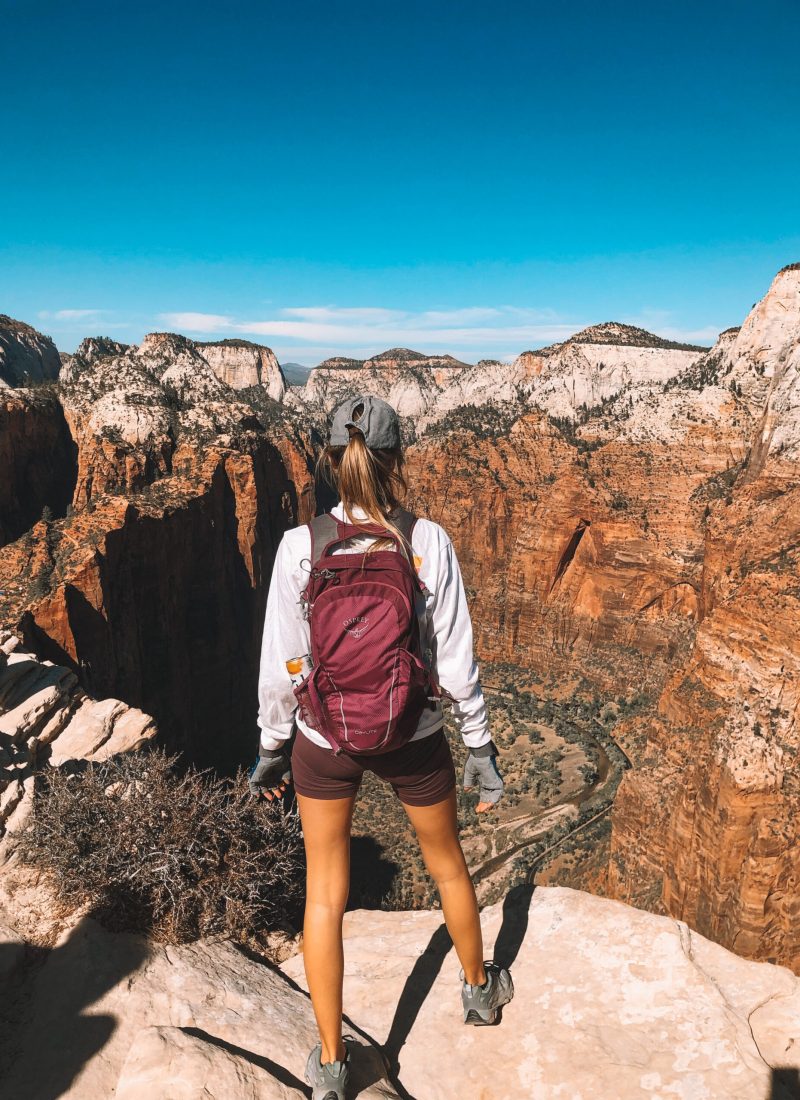
This was by far my favorite hike in the park because of the exhilaration and accomplishment I felt along the way. Make sure to put on your sturdiest hiking shoes because this hike requires you to scale the canyon’s edge using cables towards the end of the hike. If you have a fear of heights, this may not be the best hike to do. I don’t have a fear of heights, but there were times that I got the chills when looking down.
You can start at The Grotto Trailhead which is across the little bridge across the street from the parking lot (shuttle stop #6). You will begin up a slight descent slowly gaining elevation and then reach a set of several switchbacks which will get you breathing harder. At the top of the switchbacks is a flat platform called Scout’s Lookout. At first I thought this was the end of Angel’s Landing but this was only the beginning of the cable chain hike to reach the iconic Angel’s Landing viewpoint. This is the ultimate view as it has 360 views of the park. As narrow as some of the trail got, I did feel very safe with the amount of carved steps and cable chains they had for support.

The Narrows
Difficulty: Strenuous
Time: 1 hour to all-day, it’s up to you!
Distance: 10 miles roundtrip
No permit is required for the Bottom Up Hike from Temple of Sinawava.
A permit is required for Top Down Hike from Chamberlain’s Ranch.
Hiking Tips
- Rent equipment gear if you plan on hiking through the river; this is a MUST. You will be so much more comfortable, warmer, and have less blisters if you rent the right gear. I rented from Zion Guru. They will give you recommendations on what type of gear is appropriate for the season
- Wear closed toe shoes. Sandals will not be appropriate as the river rocks are rather large and you will twist your ankle. Proper footwear that offered ankle support really kept my ankles safe as I was walking on the rocks.
- Check for flash floods. I would highly recommend not hiking it if rain is in the forecast. Check the National Weather Service for updated warnings. Flashfloods can happen at anytime but are most common July-September.
- Pack a lunch, several snacks, and plenty of water if you are planning on making this an all day adventure
- There are no restrooms, so be sure to pack your own waste bags and be prepared to carry them out with you
- Bring a headlamp. You may not get back before dark if your curiosity leads you too far down the river.
- Pack a first aid kit (especially band-aids for blisters)
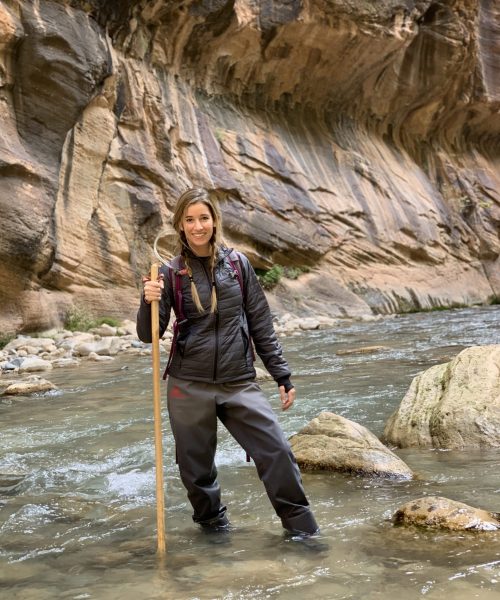
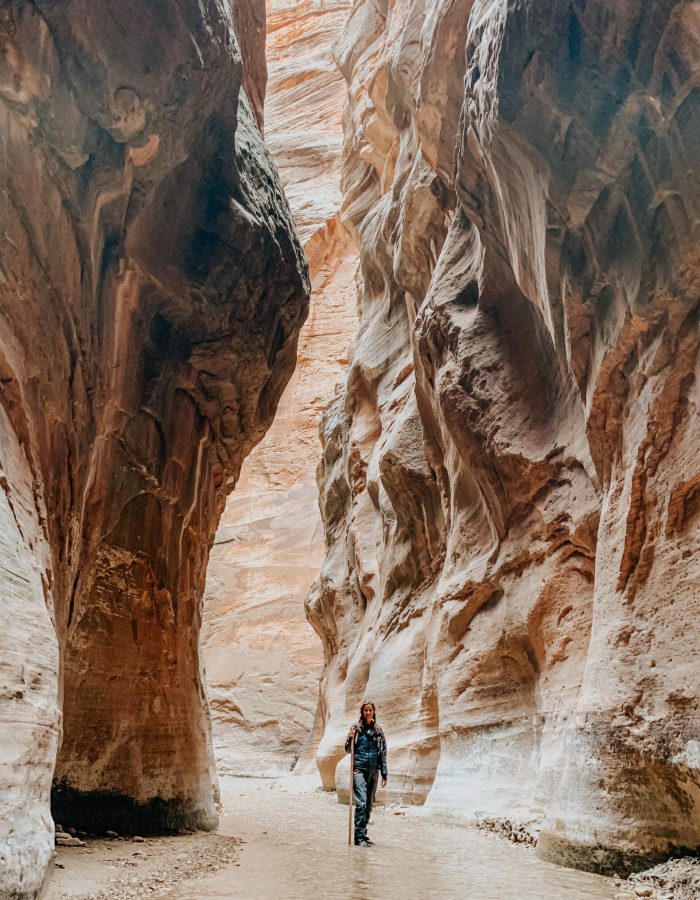
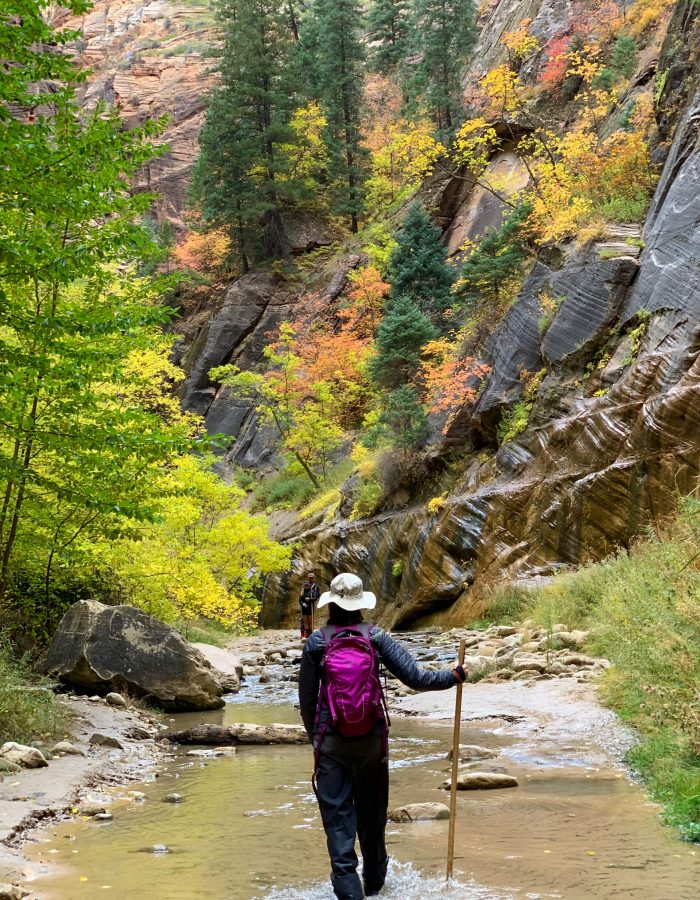
The Narrows was the most unique hike I have ever done. It is a beautiful, yet strenuous hike requiring you to get your feet wet (literally) by trekking through the Virgin River for miles upstream. Take the shuttle to the last stop called Temple of Sinawava (shuttle stop #9) and walk about a mile on the Riverside Walk. The dry trail will reach the Virgin River and you will begin the hike through the narrowest part of Zion. As you walk through the gorge, you will be towered by the canyon walls and sometimes won’t get direct sunlight because of how tall the walls are. About halfway through, you will reach a fork in the river. I found them to be very opposite like yin and yang: one resembled light with sun shining and beautifully colored foliage growing from the sides of the canyon; the other side was darker leading to a deeper part of the river but had beautiful colors embedded in the rocks. This hike is definitely more about enjoying the journey, rather than reaching a destination.
Canyon Overlook Trail
Difficulty: Moderate
Time: 1 hour
Distance: 1 mile roundtrip
To get to the Canyon Overlook trailhead from the visitor center (near the campgrounds), you have to drive yourself, since the shuttle does not stop here. Once you are inside the park, follow the signs to get on highway 9. You know you are going the right way if you are driving up a series of switchbacks and gaining elevation. You will then want to pass through Mount Carmel tunnel. As you exit the tunnel, there is a small parking lot directly to your right that you can park at. The parking is very limited, so you may have to park on the side of the highway road. The trailhead is just above the canyon’s giant arch formation, shown below.

Hiking Tips
- Parking lots are small; arrive early if you want to park close to the trailhead
- This is a shorter hike, but short might not always mean easy! There a slight elevation and some stairs required which is why I rated this a moderate hiking trail
- Midway through the hike, you will walk through a cave-like formation. This is not the end of the trail- keep walking! You will soon find that the narrow trailhead will lead to breathtaking canyon views overlooking Zion


After you are done with the Canyon Overlook trailhead, you can exit the way you came. I recommend to continue driving east on Hwy 9 to look at the unique red-orange striations in the sandstone cliffside. You can’t find the unique striations near the main entrance of the park, so it is worth driving a few minutes up the highway to take a look.

I hope this guide was helpful for you and that it inspires you to get some fresh air and take a hike! Zion is an incredible national park with so many trails and sights to see. I recommend at least 3 full days to see the grounds without feeling rushed. Even if you decide to just drive through, you will be in awe at the sights around you. Happy trails!
