How to Host a Wine Tasting at Home

This post may contain affiliate links. Please see my disclosure policy for details.

For all of my wine lovers out there, I know you’re going to enjoy reading this guide on how to host the ultimate wine tasting date at home. Round up your friends or grab your partner and let’s have a ‘grape’ time with wine! 

Supplies for wine tasting

  • At least 3 wine bottles or wine tasting kit*
  • Wine glasses (1 per guest)
  • Empty container (to pour out unwanted wine)
  • Charcuterie board
      • Variety of cheeses
      • Cured meats
      • Crackers
      • Jam
      • Nuts
      • Mini Pickles
      • Fresh fruit
      • Dried fruit

*Wine tasting kit: In Good Taste

wine tasting kit

Choosing the wine for your wine tasting

Choose a variety of wines to offer at your wine tasting. I really love wine tasting because it gives me the opportunity to try wines I may not have tried before. It also helps me build my palette for wines I might be more familiar with. 

I remember when I first tried wine, I only stuck to the white wines. I wouldn’t dare try a red! Now I can’t get enough of red wine! Our palette can evolve with time. 

The wine tasting kit I used on this post was by In Good Taste. The wine tasting flight came with eight 187 ml bottles. The glass bottles had beautifully decorated labels, sealed with glass corks which I found unique. I loved how there were less traditional wines in the tasting flight so it exposed me to wines I had not tried before. And here I am thinking I have at least tried every wine under the sun…I guess I’m wrong! The company does off virtual wine tasting if you would like to sip along while you hear more information about each wine produced. As far as the taste of wines in this flight goes, they were amazing. Every single one of them was pure bliss. 

If you want to choose your own wines instead of purchasing a wine tasting flight kit, you can certainly do so. To help with the costs, I recommend that each guest bring a bottle of wine. If you have a large group coming over, divide the group into half and ask half of the group to bring a red and the other half to bring a white so you end up with an equal balance of reds and whites to taste.

charcuterie plate

Avid wine drinkers know that cheese and meats pair really well with wine. When I did my first wine and cheese pairing, I couldn’t believe how different the wines tasted after tasting cheese. I later found out that the fats in cheeses tone down the acids found in wine. No wonder the wine was so much easier to drink!

If you want to create a charcuterie board with meats and cheeses, I have included some tidbits on how to make the ultimate platter to showcase at your wine tasting. I learned how to make the ultimate charcuterie board from my best friend, Rachael, who always puts together the most beautiful charcuterie boards when we get together. Everyone loves to munch on something when they are drinking their wine, so why not put together a charcuterie plate! A platter of small bites is a great complement to have while wine tasting at home.

charcuterie board

How to make a charcuterie board

Step 1: Find a platter
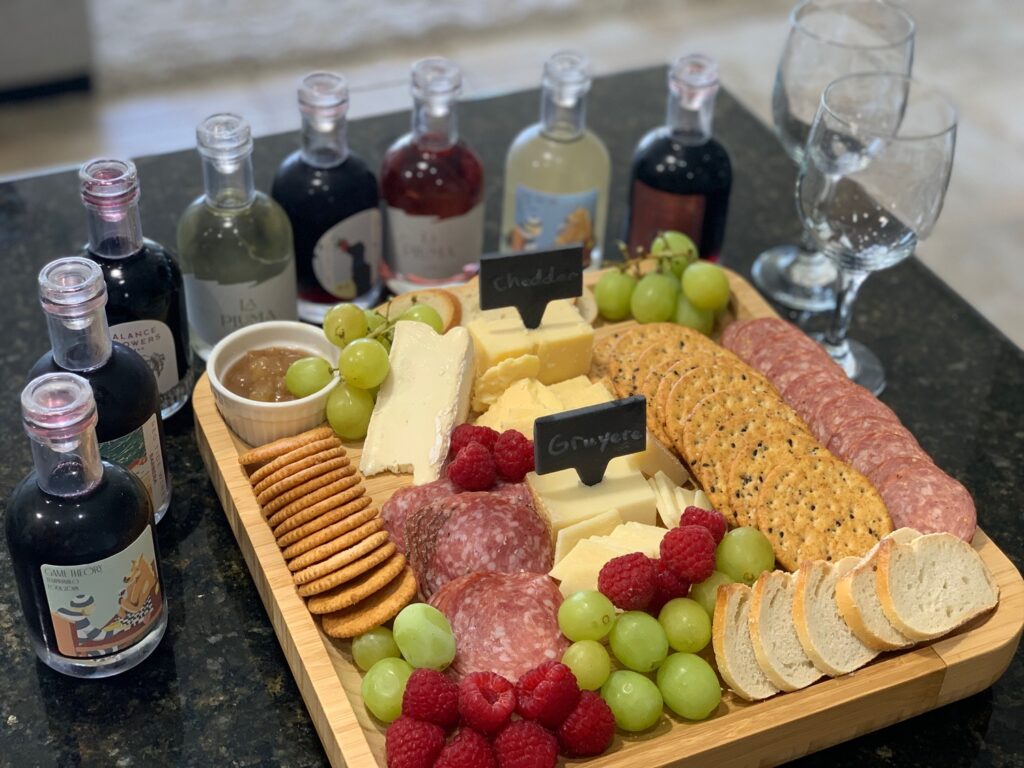
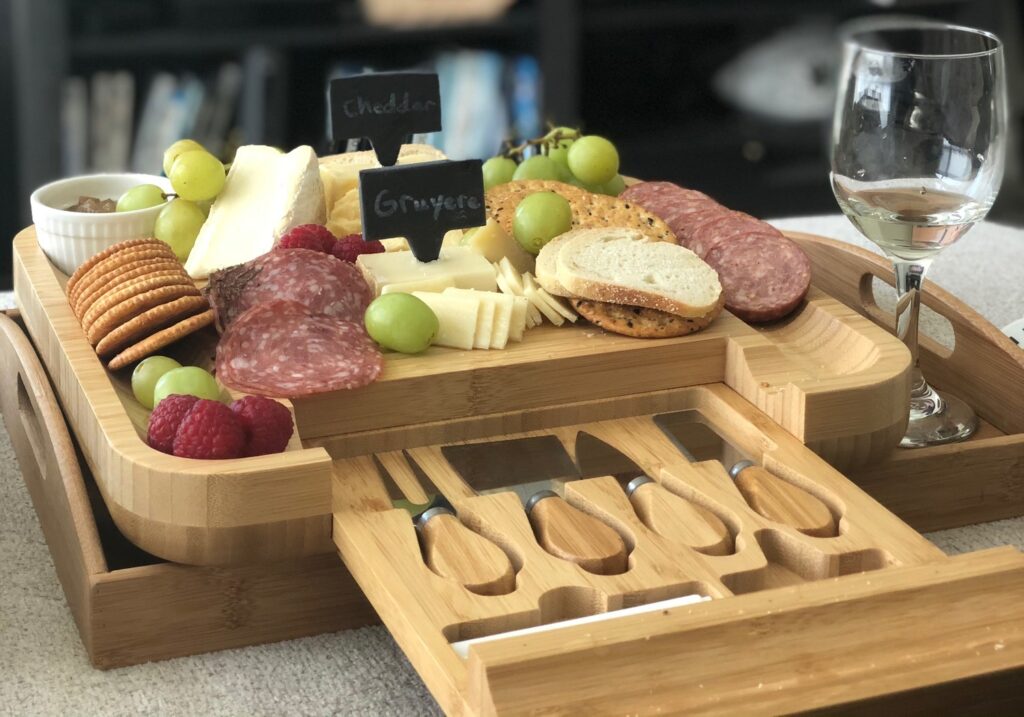
Grab a wooden board, marble cutting board, ceramic platter, or slate board to display your munchies. If you want the cheese board that I have above, you can find it attached to the link, here. This unique board comes with a slide out drawer containing cutting knives and comes in larger sizes too.

Step 2: Find your cheese
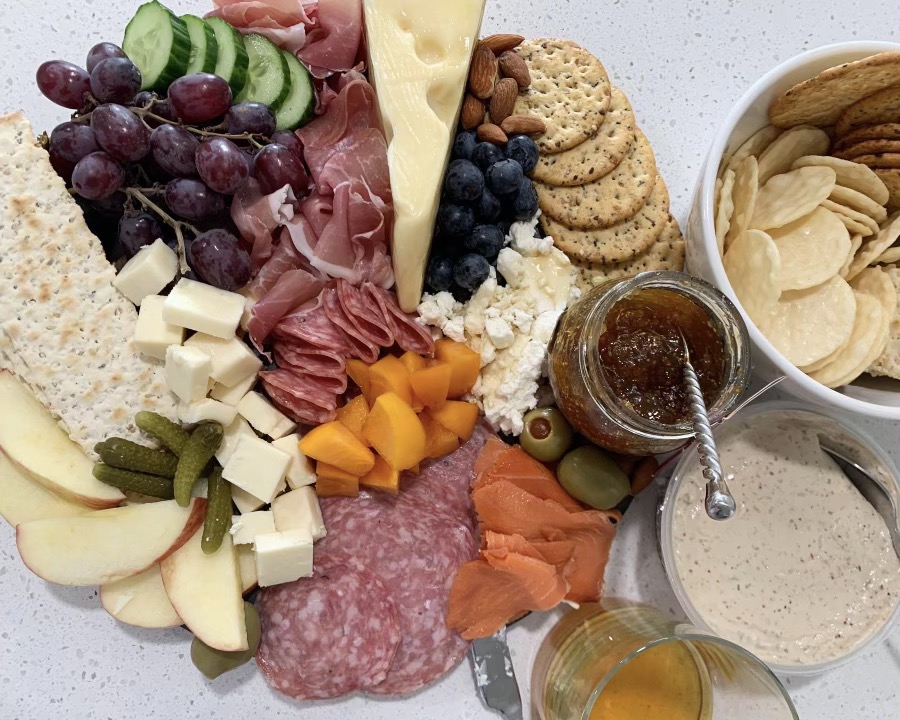
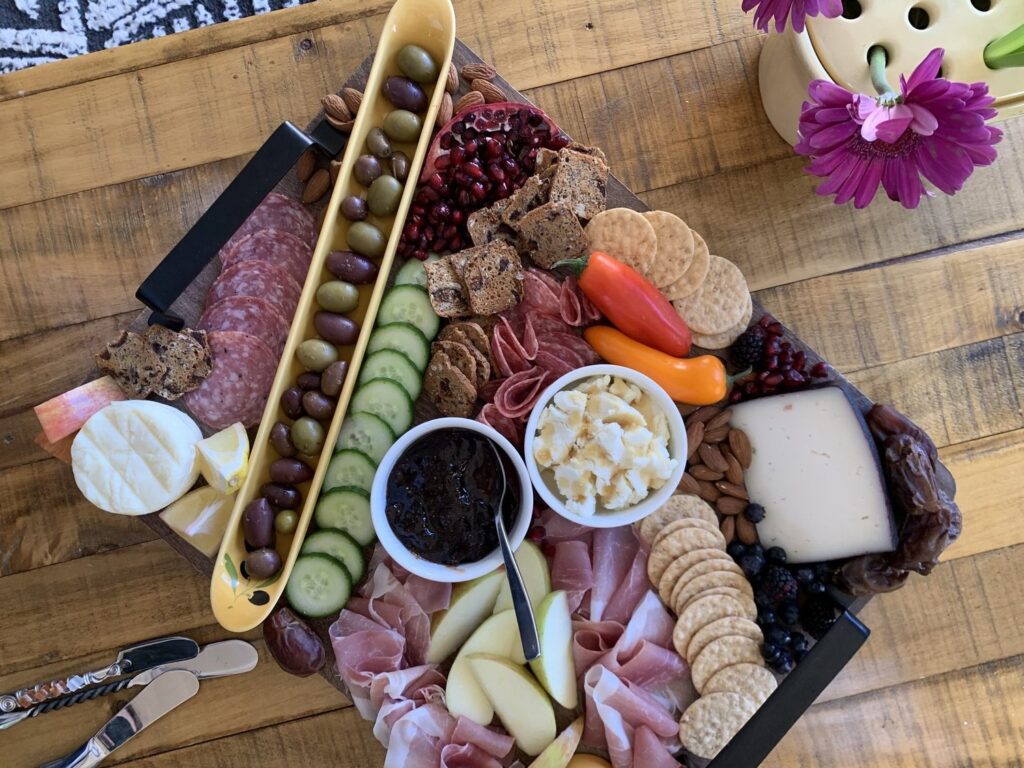
Find which cheese you and your guests might want to eat. There are so many out there to choose from! If you aren’t sure what to choose, you can find pre-assembled cheese packages containing different types of cheeses. My favorite pre-assembled cheese sampler is from Trader Joe’s containing 3 different Spanish cheeses, called the “Tapas Sampler.” If you are wanting to choose your own cheeses, you can just put the blocks of cheese on your charcuterie board for your guests to cut into.

Cheeses to include:

  • Brie
  • Cheddar
  • Havarti
  • Gouda
  • Swiss
  • Blue cheese
  • Goat cheese

Step 3: Choose your cured meats

  • Salami
  • Pepperoni
  • Prosciutto
  • Turkey
  • Ham

Step 4: Choose your crackers
I like to provide an assortment of different crackers such as whole grain, wheat, and water crackers.

Step 5: Choose the fillers
Choose the fillers to fill in the empty spaces on your charcuterie board:

  • Fresh fruit (raspberries, blueberries, orange slices, grapes)
  • Dried fruit (apricots, raisins, cranberries, cherries)
  • Olives
  • Mini pickles
  • Nuts (almonds, peanuts, cashews, macadamia nuts)

Step 6: Don’t forget the jam
Pick any jam you would like to spread onto your crackers. A personal favorite is fig jam. I also love a spicy jam such as raspberry pepper jam which compliments the cheese really well. 

charcuterie
My friend Rachael's charcuterie creation

Let the wine tasting begin!

Okay, now that you have your cheese board and you have your wine let’s try the wines!

Line up your wines and taste the whites first, followed by the reds. When you are ready to taste a wine, do 4 things:

  1. Look
  2. Swirl
  3. Sniff
  4. Sip

1. Look at the wine
You can tell a lot about a wine by just looking at it. You’ll want to focus on the color. Dark red wines will be fuller bodied and have more tannins than a lighter red. A lighter white wine will have light floral aromas moreso than a golden white wine.

2. Swirl your glass 
This is the one time when you can play with your glass and swirl your drink. Don’t get hypnotized by swirling it too much! You want to swirl your glass to expose it to more oxygen, allowing the wine to open up more. After swirling, you may start to smell more aromas leaving your glass. After you swirl, take a look at the streaks going down the side of your glass, otherwise known as “legs.” I am always fascinated by the legs on a wine glass. I learned at a wine tasting once that the more legs there are, the higher the alcohol content may be. The slower the legs are to fall, the higher the sugar content may be. 

3. Yes, put your nose in your glass and sniff the wine!
Swirling the wine will exaggerate the scent and you’ll want to smell all the loveliness that exudes from it. I often times know if I am going to like a wine just based off of the scent. It is fun to see what aromas you smell and how it may differ from what other people smell.  

4. Sip!
Time for the moment you have been waiting for- it is time to sip your wine! What do you taste? Note the sweetness, acidity, and tannin. These are the three things that is used to describe a wine. 

wine tasting

I hope you have a fun time hosting a wine tasting at home! I guarantee you are going to want to re-wine that day over and over from all the fun it will be!

1 Comment

  1. Such great tips! Thank you! Your charcuterie boards have my mouth watering! 😋

Send a Comment

Your email address will not be published. Required fields are marked *